The Pro version of Emoza includes a built-in Size Chart module that allows you to add custom size charts to your product pages. This is useful for various items, such as clothing, shoes, bags, and jewelry. You can create as many size charts as you need.
Enabling the Size Chart Module #
Activate the Module:
- Go to Appearance > Theme Dashboard to enable the Size Chart module.
Access the Customizer:
- Open the Customizer or navigate to Appearance > Customize in your WordPress admin area.
- Go to WooCommerce > Single Products > Size Chart.
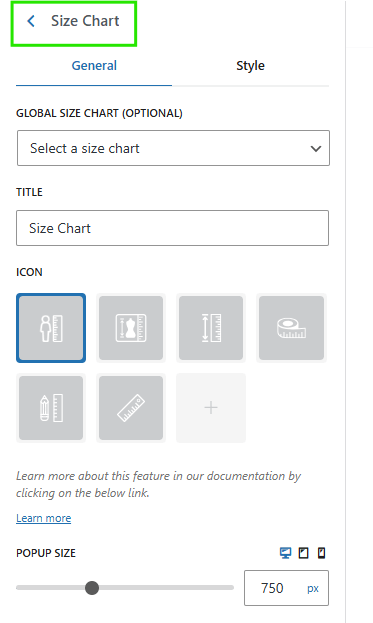
Global Size Chart (Optional):
- If you want to apply a global size chart to all products, you can do so here.
- Set the Title for the global size chart.’
- Choose an Icon to display on the product page.
- Enable the size chart and save your settings.
Creating a Size Chart #
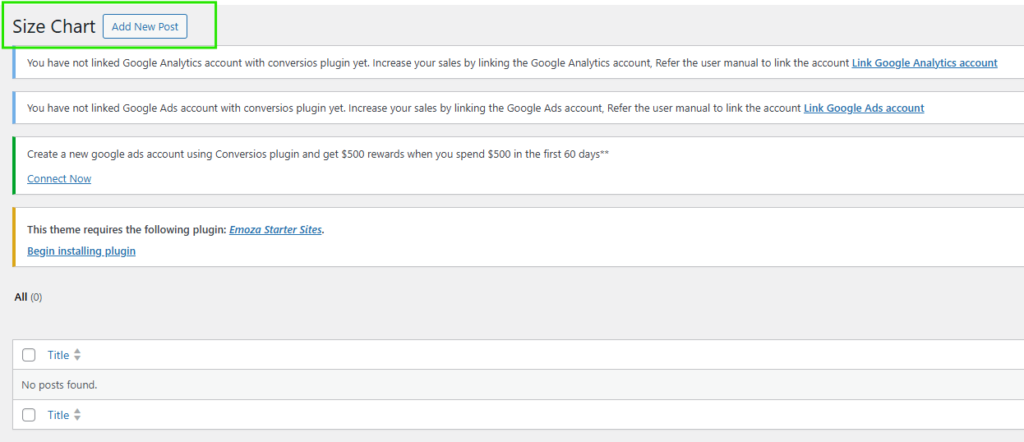
Add New Size Chart:
- Once the Size Chart feature is enabled, a new option will appear under the Products menu.
- Go to Products > Size Chart and click Add New to create a new size chart.
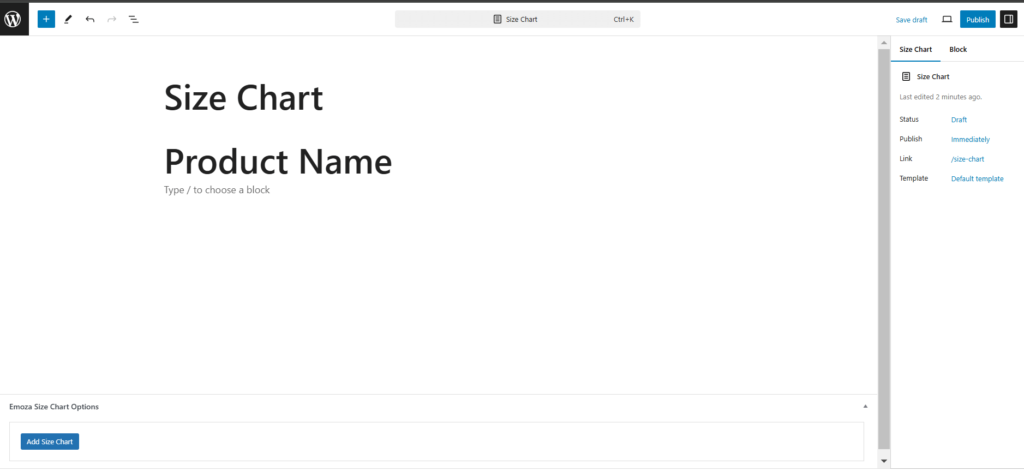
Input Size Chart Data:
- Fill in the Size Chart Options with the relevant information.
- Global Size Chart (Optional): Use this option if you want to add a global size chart to all products in your store — note: check the instructions below to learn how to create global size charts.
- Title: The title of the global size chart.
- Icon: Control the icon that’s displayed in the product page.
Enable the size chart and publish/save the Customizer settings.
Displaying a Size Chart on a Product Page #
Assign Size Chart to Products:
- To display a size chart on a specific product, edit that product.
- Scroll down to the Emoza Product Options box and select the size chart you want to display.
Save Changes:
- Publish the changes and check the product page on the frontend of your site to ensure the size chart appears.
Customizing Size Chart Styling Options #
You can customize the appearance of your size chart, including text color, icon color, and popup background color. To access these styling options:
Navigate to Appearance > Customize > Single Product > Size Chart (Style).
