Skip to content
No results
  • Docs
Go To Emoza.org

Footer

5
  • How to Set or Update Copyright Area in Footer
  • Customizing the Style of Footer Widgets
  • How to update Copyright Area
  • Footer Copyright Options
  • Building Custom Headers & Footers

General

5
  • How to use Content Block in Emoza Template Builder
  • Create a Mega Menu using a Custom Template Builder
  • How to Use Templates Builder in Modal Popups
  • Templates Builder
  • How to Create a Custom 404 Error Page Template

Header

5
  • Create a Mega Menu using a Custom Template Builder
  • Header Layouts Settings
  • How to Change Top Bar
  • How to Make Sticky Header and Sticky Navbar and Nav Menu
  • Header Components or Elements

WooCommerce

7
  • Advanced Review Options for Single Products
  • How to use WooCommerce Product Cards under Product Catalog
  • How to Enable AJAX Search for Products And Search SKU
  • WooCommerce Related Products Settings and design
  • WooCommerce Cross-Selling Options and Layout in Mini Cart
  • WooCommerce Product Size Guide
  • How to set WooCommerce Product Featured Video and Product Video Gallery
View Categories
  • Home
  • Docs
  • Header
  • How to Change Top Bar

How to Change Top Bar

wpemoza
Updated on November 20, 2024

< 1 min read

Emoza allows you to display a top bar above your main header. Follow these steps to enable and customize it:

Enabling the Top Bar #

  1. Enabling the Top Bar
  • Go to Customize > Header > Top Bar.
  • Toggle the Enable Top Bar option to turn it on.

General Settings #

  1. Container Type:
  • Full-width: The top bar spans the entire width of the screen.
  • Contained: The top bar fits within the default container.

2. Delimiter Style:

  • Choose symbols to separate the elements within your top bar.

3. Visibility:

  • By default, the top bar is displayed only on desktop screens. Use this option to select the devices where you want the top bar to appear.

Elements #

The top bar has two sections: the left and right sides. You can add the following elements:

  • Contact Info
  • Social Media Links
  • Text
  • Secondary Menu

To add and arrange elements, simply drag and drop them into position.
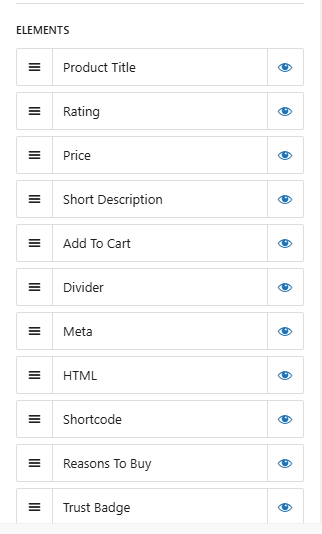
Please note: each element can only be used once (e.g. if you enable Social on the left side, you cannot add it to the right side).

Updated on November 20, 2024
Header Layouts SettingsHow to Make Sticky Header and Sticky Navbar and Nav Menu

Powered by BetterDocs

Leave a ReplyCancel Reply

Your email address will not be published. Required fields are marked *

Table of Contents
  • Enabling the Top Bar
  • General Settings
  • Elements
Share This Article :
  • Facebook
  • X
  • LinkedIn
  • Pinterest
Was it helpful ?
  • Happy
  • Normal
  • Sad

Copyright © 2025 - WordPress Theme by Emoza